
Building a Shop Door
Soon after the shop was walled in, I built a temporary door so I could easily lock my tools in overnight. As so often happens, the temporary door lasted well over a year before I got around to building a replacement for it. Using that door for a year convinced me that the two qualities I most wanted in a door were 1: structural rigidity and 2: insulation. The door to my shop is considerably wider than standard, being the largest I could accommodate with the brace layout in my timber frame. My door needed to be strong enough not to sag under its own weight. The door opening is also the single biggest heat sink in the building envelope, I wanted to make up for that by insulating the door with the same foil faced foam panels I used on the walls.
While researching precedent, I stumbled across this video of a door build whose construction methods suited both of my needs: pegged mortise and tenon at each corner, with a double tenon brace midway up the door, faced on both sides with tongue and groove boards sandwiching insulation between. Perfect. So I set out to build my own version of the same door.
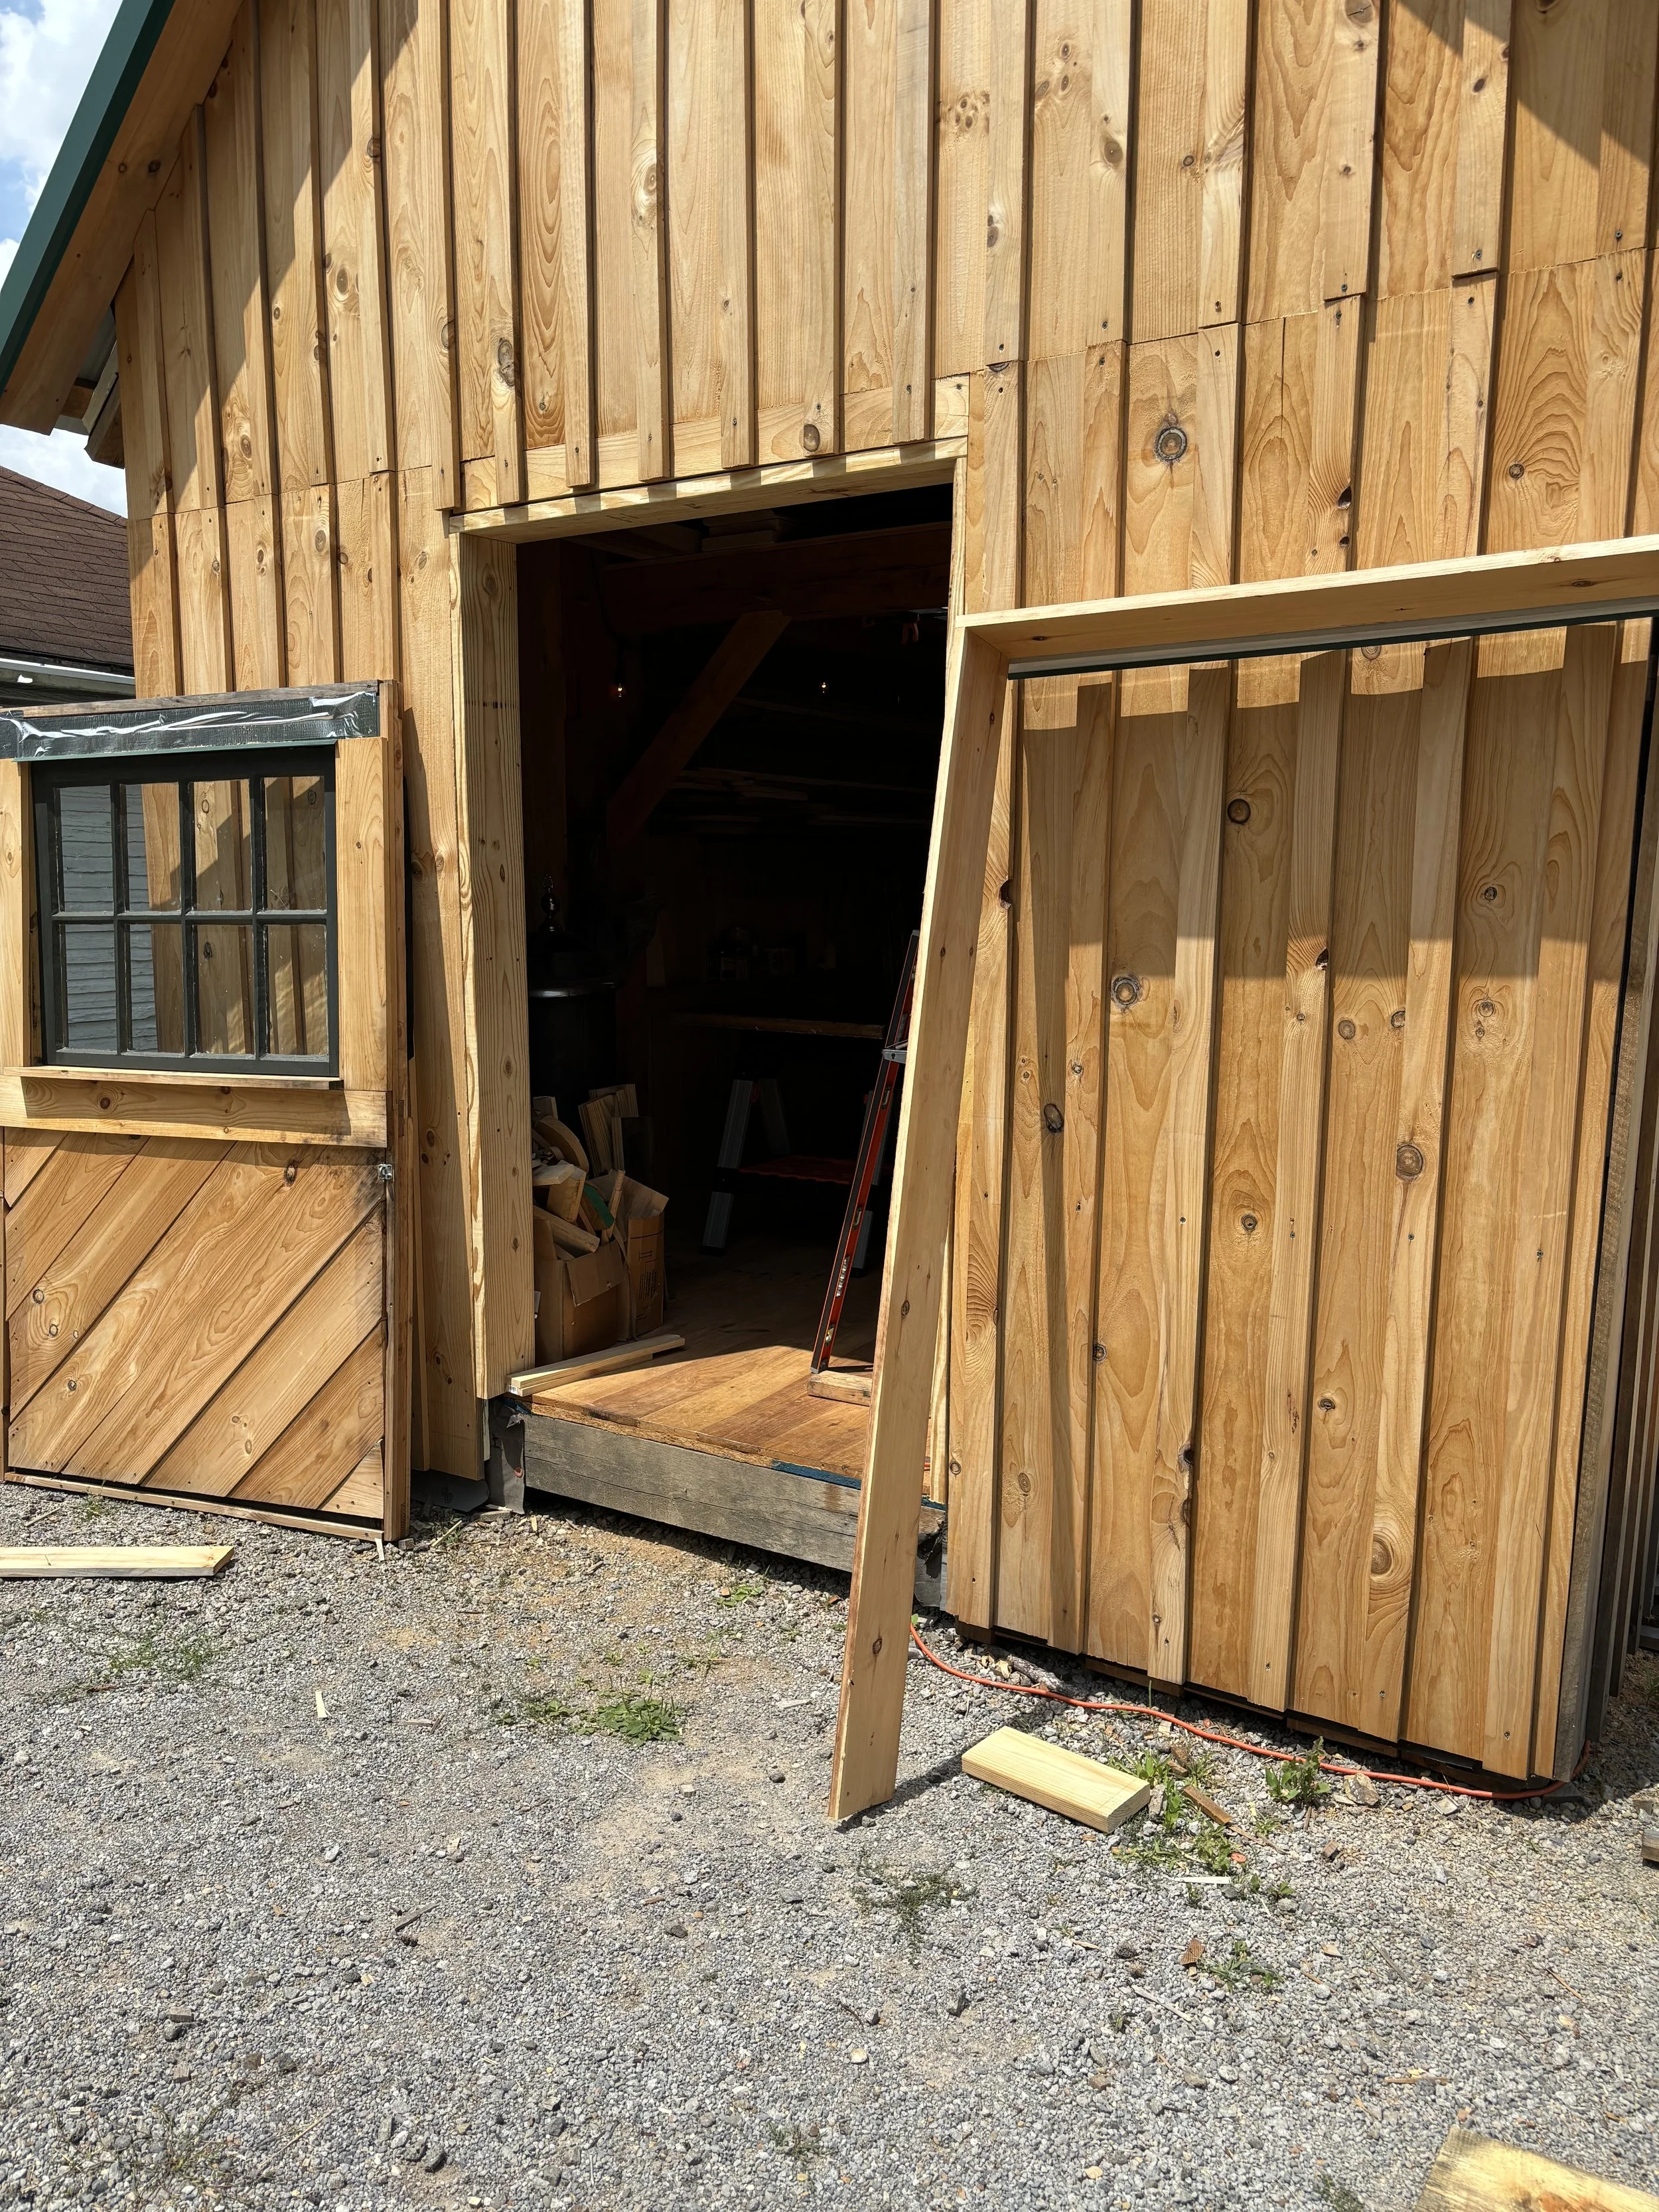
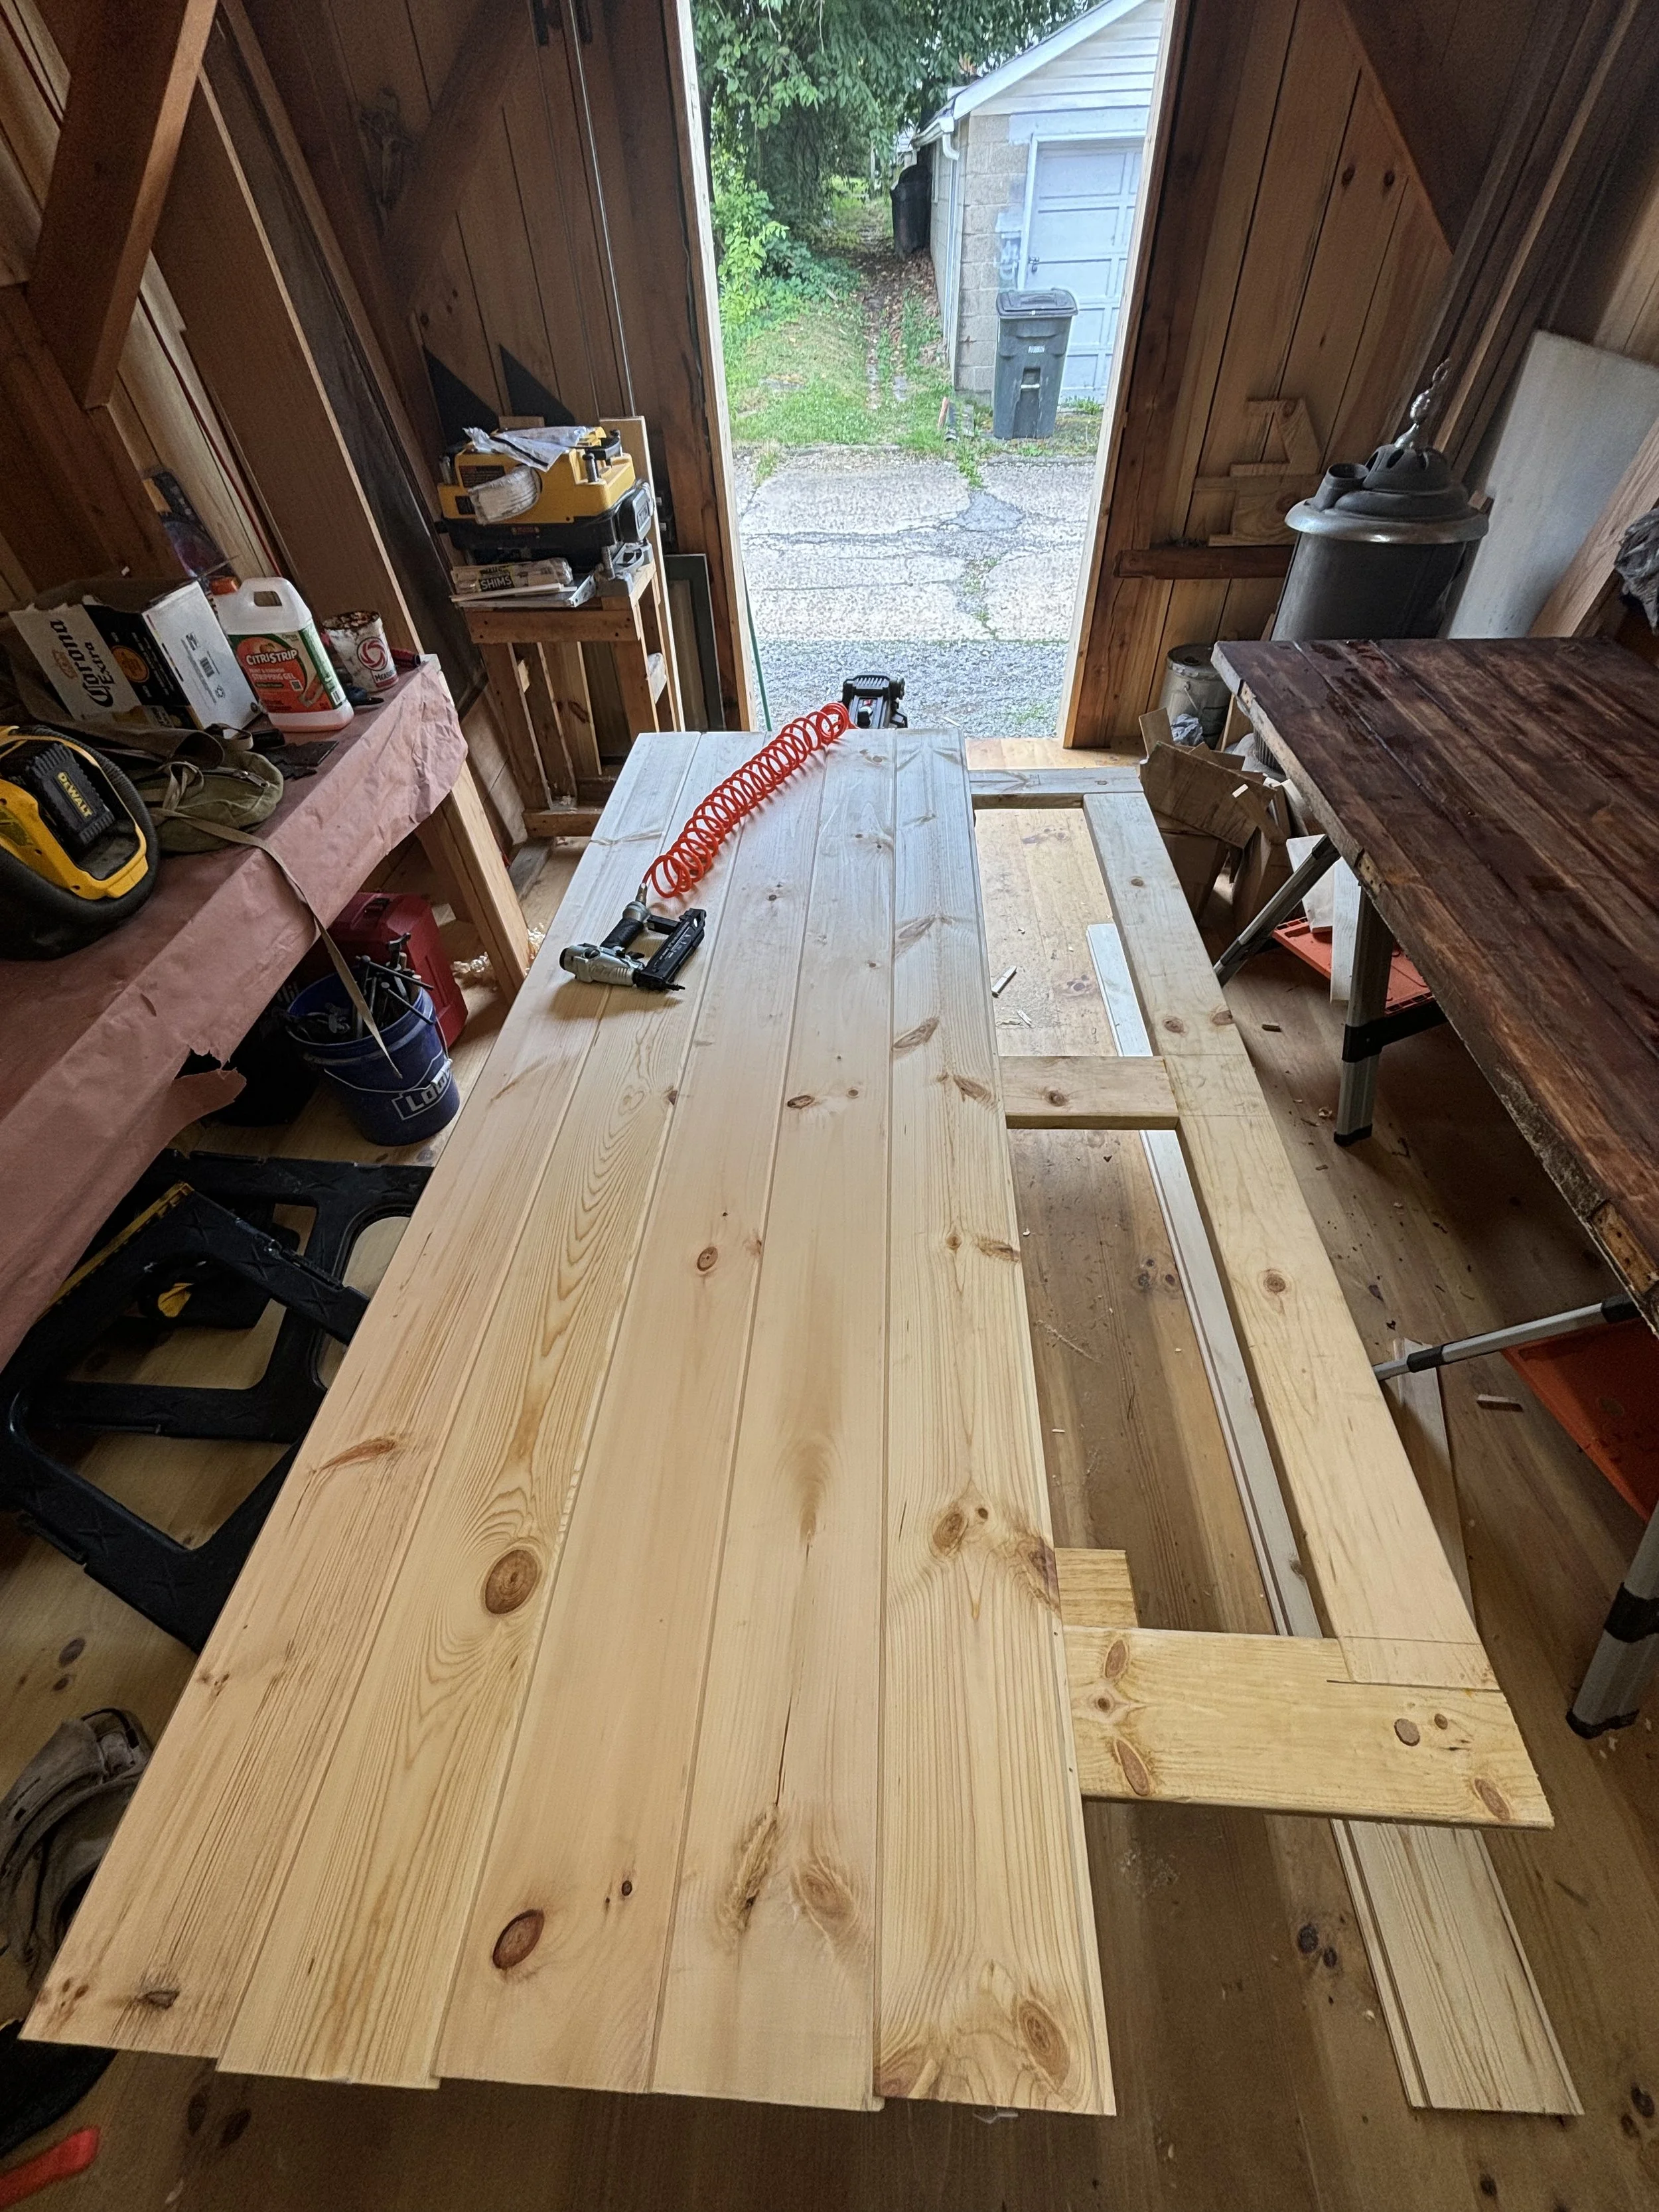
The temporary shop door and frame, pulled out as to fit the new frame
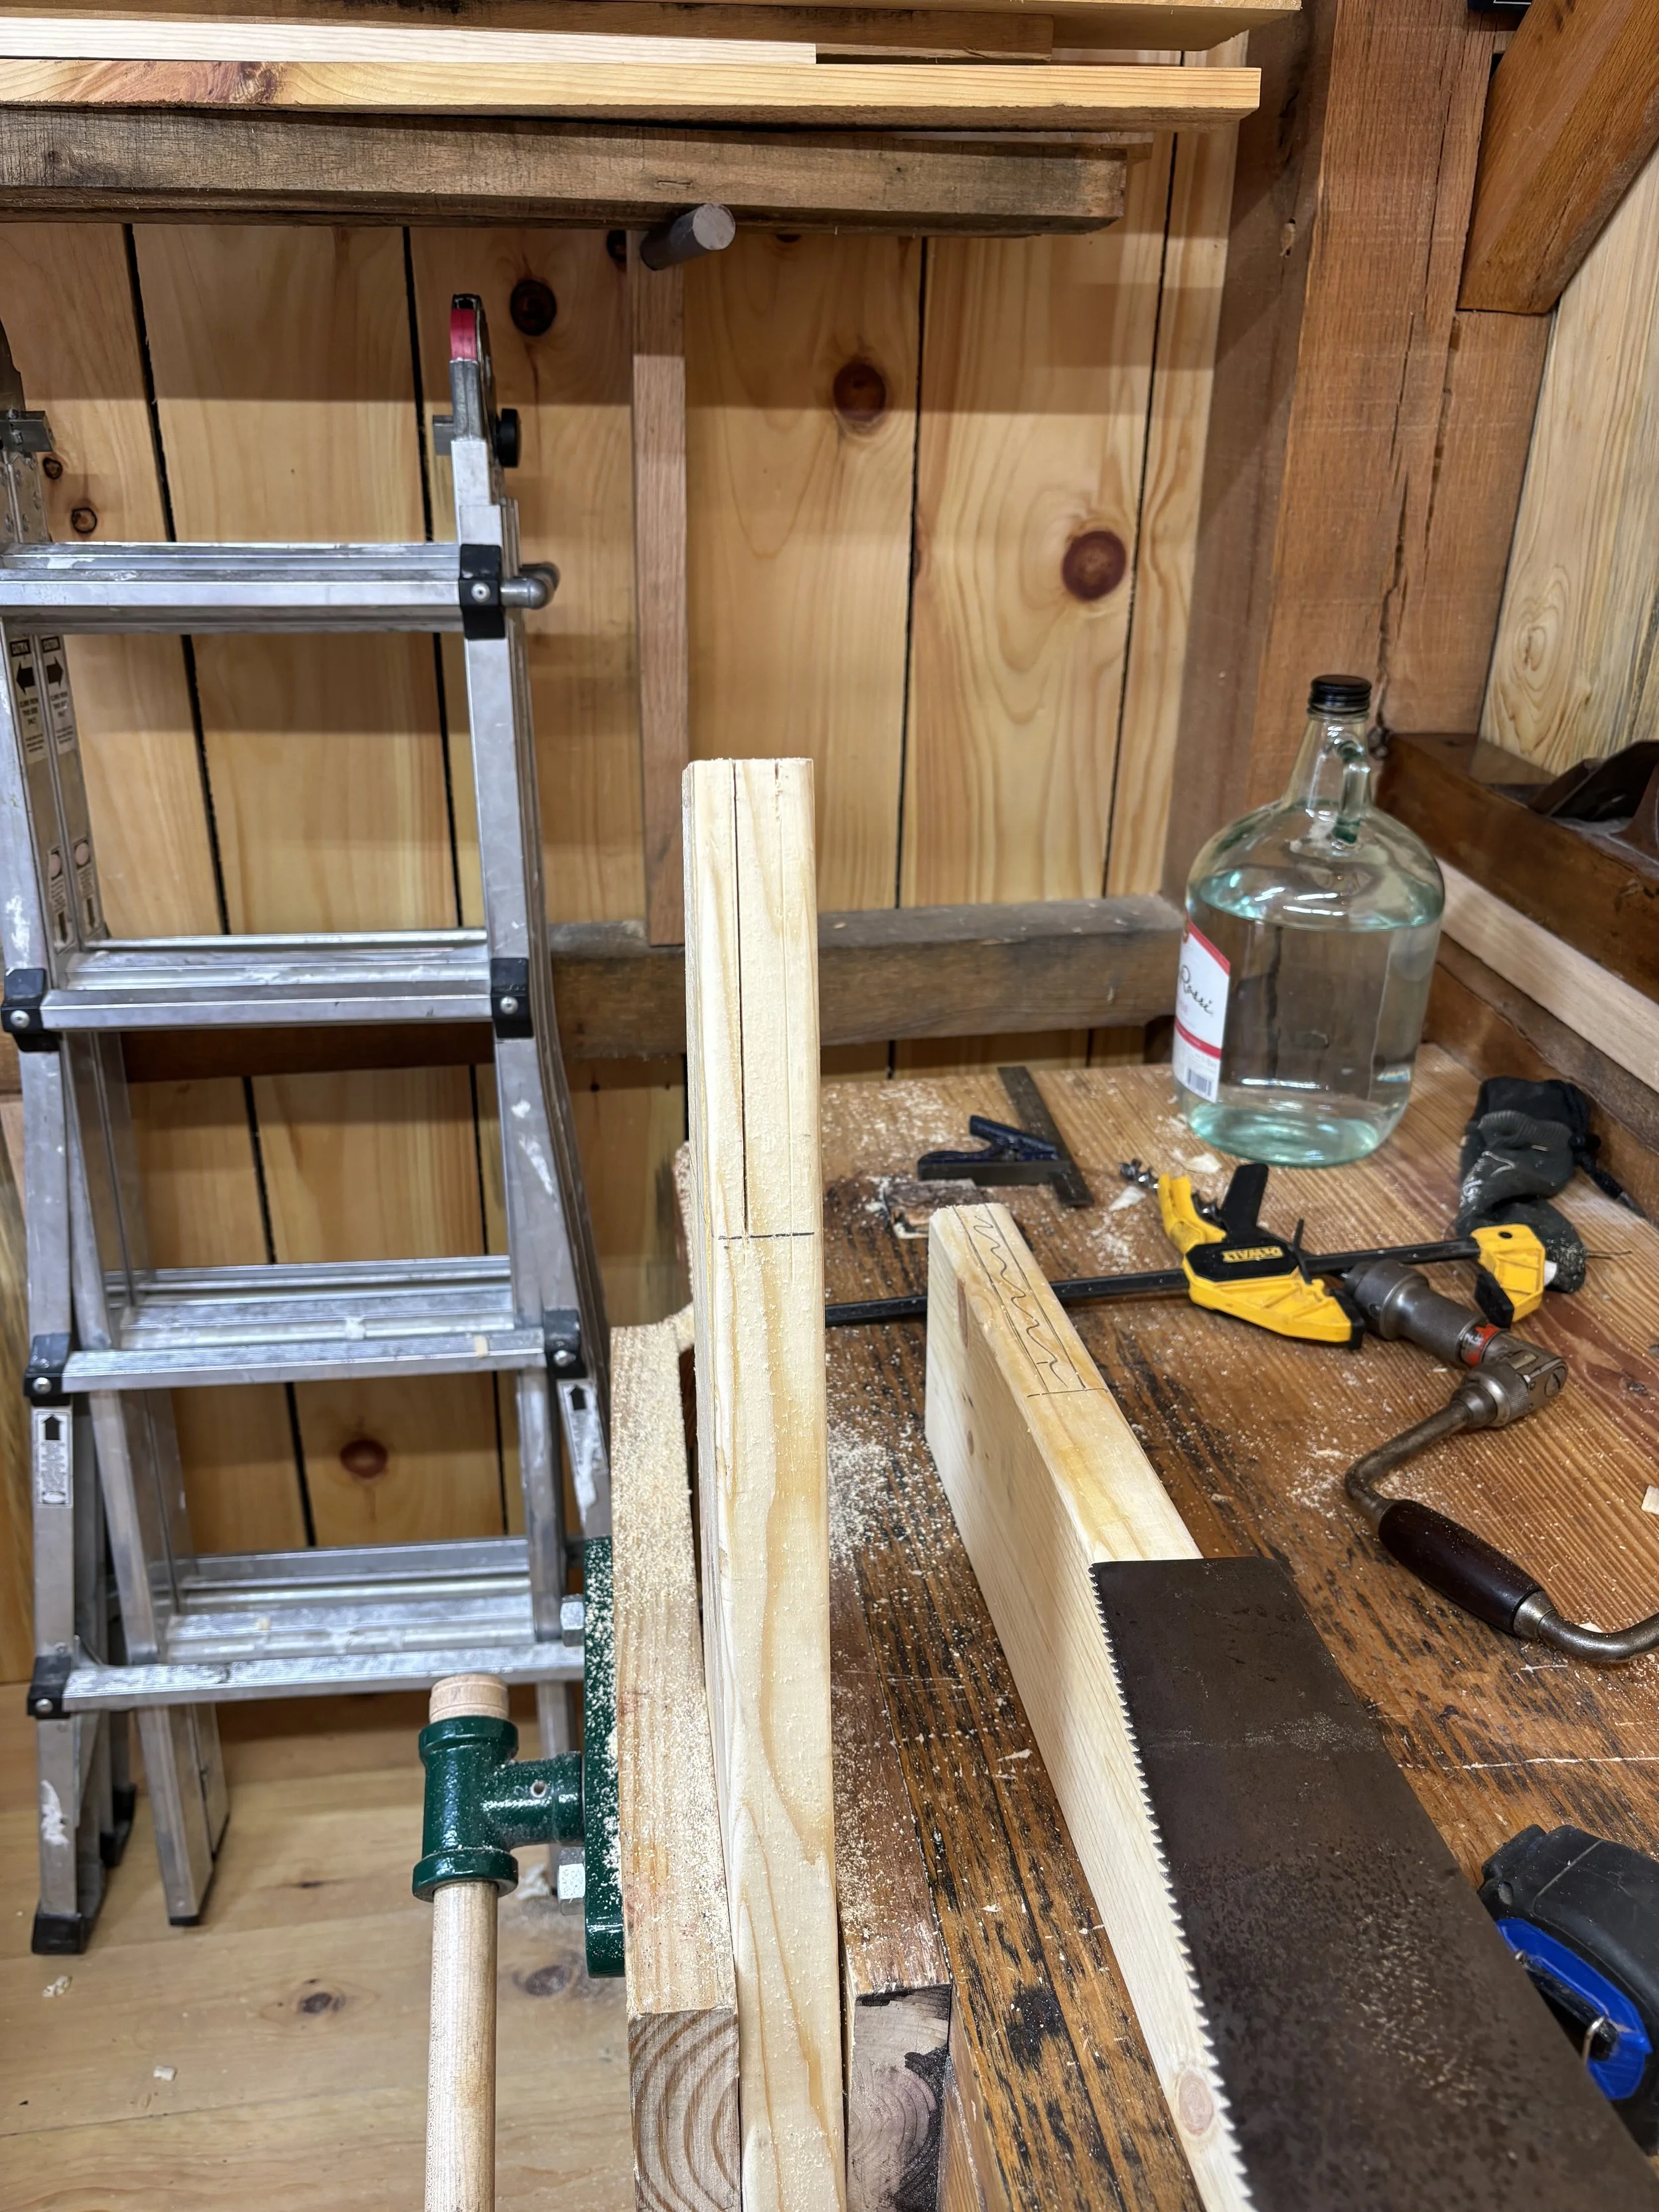
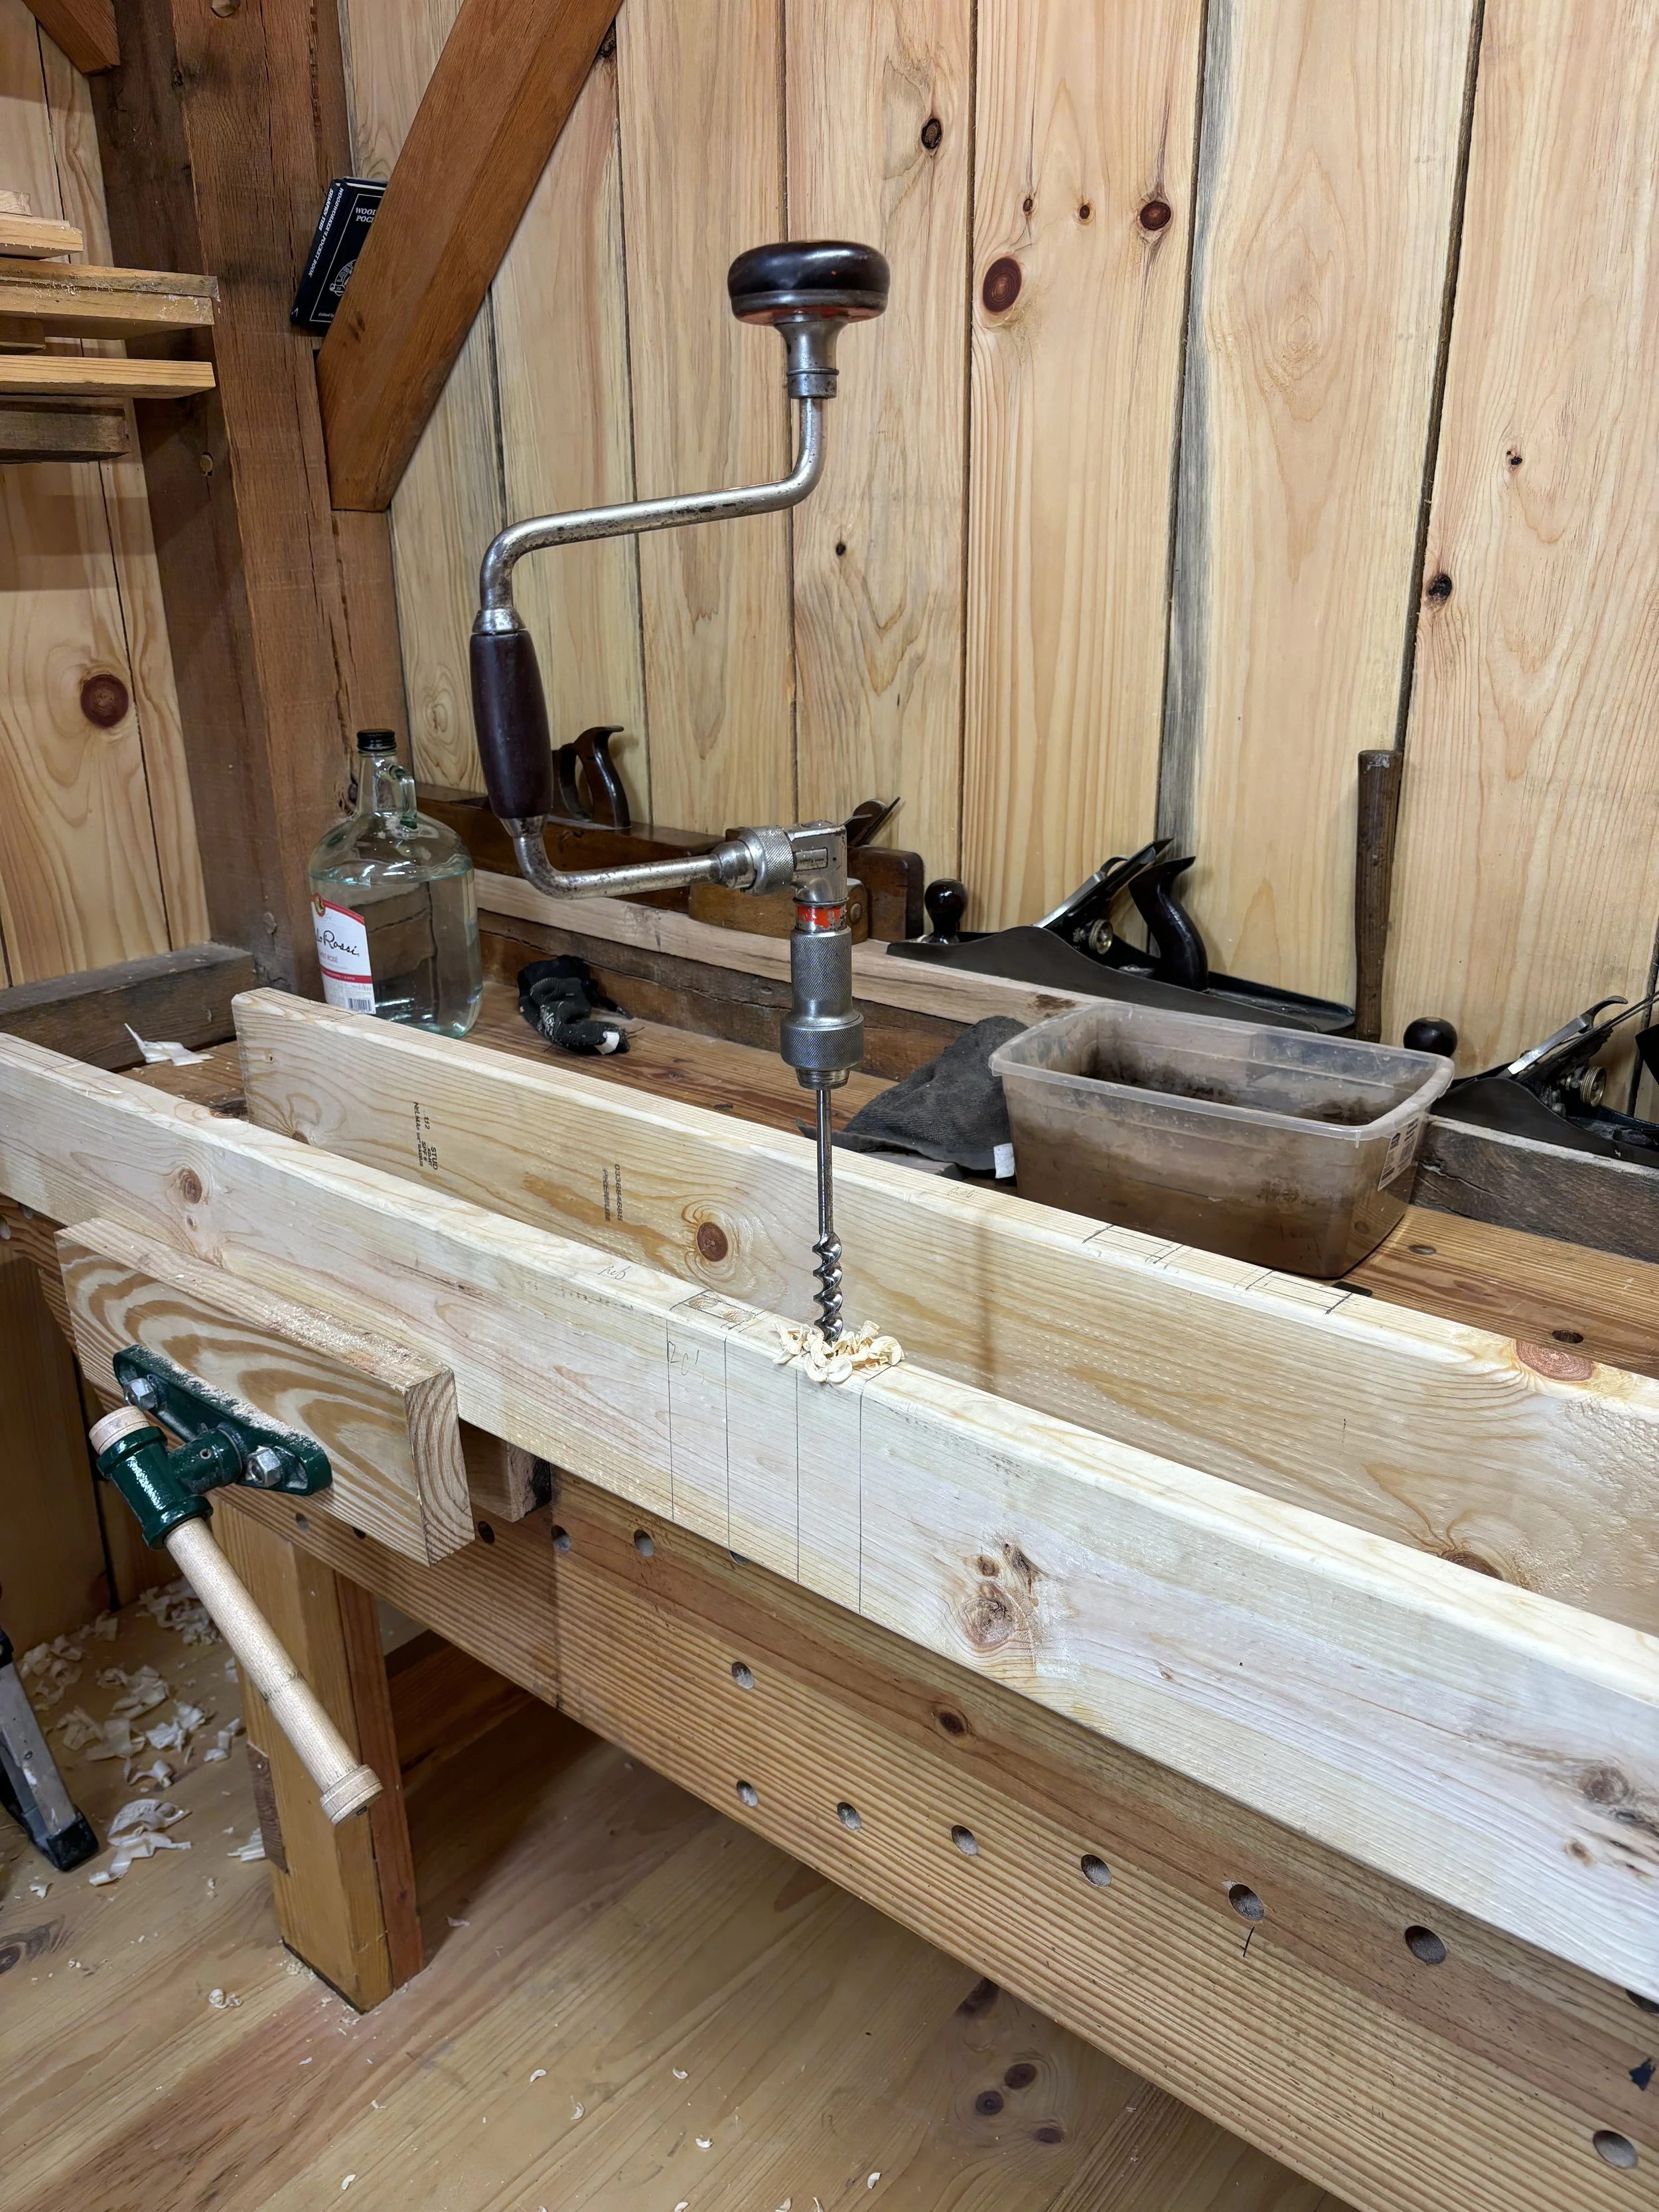
First, I made the rough frame for the door from dimensional 2x6 lumber. The stiles were clamped together so the joinery on both pieces could be marked at once. The mortise width was 1/3 of the width of, and centered on, the 2x6, leaving 1/3 of material on either side for the mortise walls. I drilled these with a brace and auger, stepping back to check myself for plumb as I went. The walls were then pared smooth with a chisel. The corners of the frame are joined with a mortise and tenon joint that is open at the top (see the 4th picture below). I cut the tenons as usual, ripping down to the gauge line, then crosscutting the waste piece to reveal a rough tenon. This was test fit and cleaned up with a block plane as necessary. The mortises are also notched for strength, and I cut this notch (1 1/2 inches) before cutting the mortise. Performing this operation first means there is less material to rip through when cutting the mortise. I ripped the side walls of the mortise down to the gauge line, but rather than chiseling out the remaining waste, I opted to drill a hole at the baseline straight through the waste so that the whole piece popped out as a whole. This left me with two small radii (the curved bit resulting from cutting a square mortise with a round drill) that were easily removed with some chisel work.
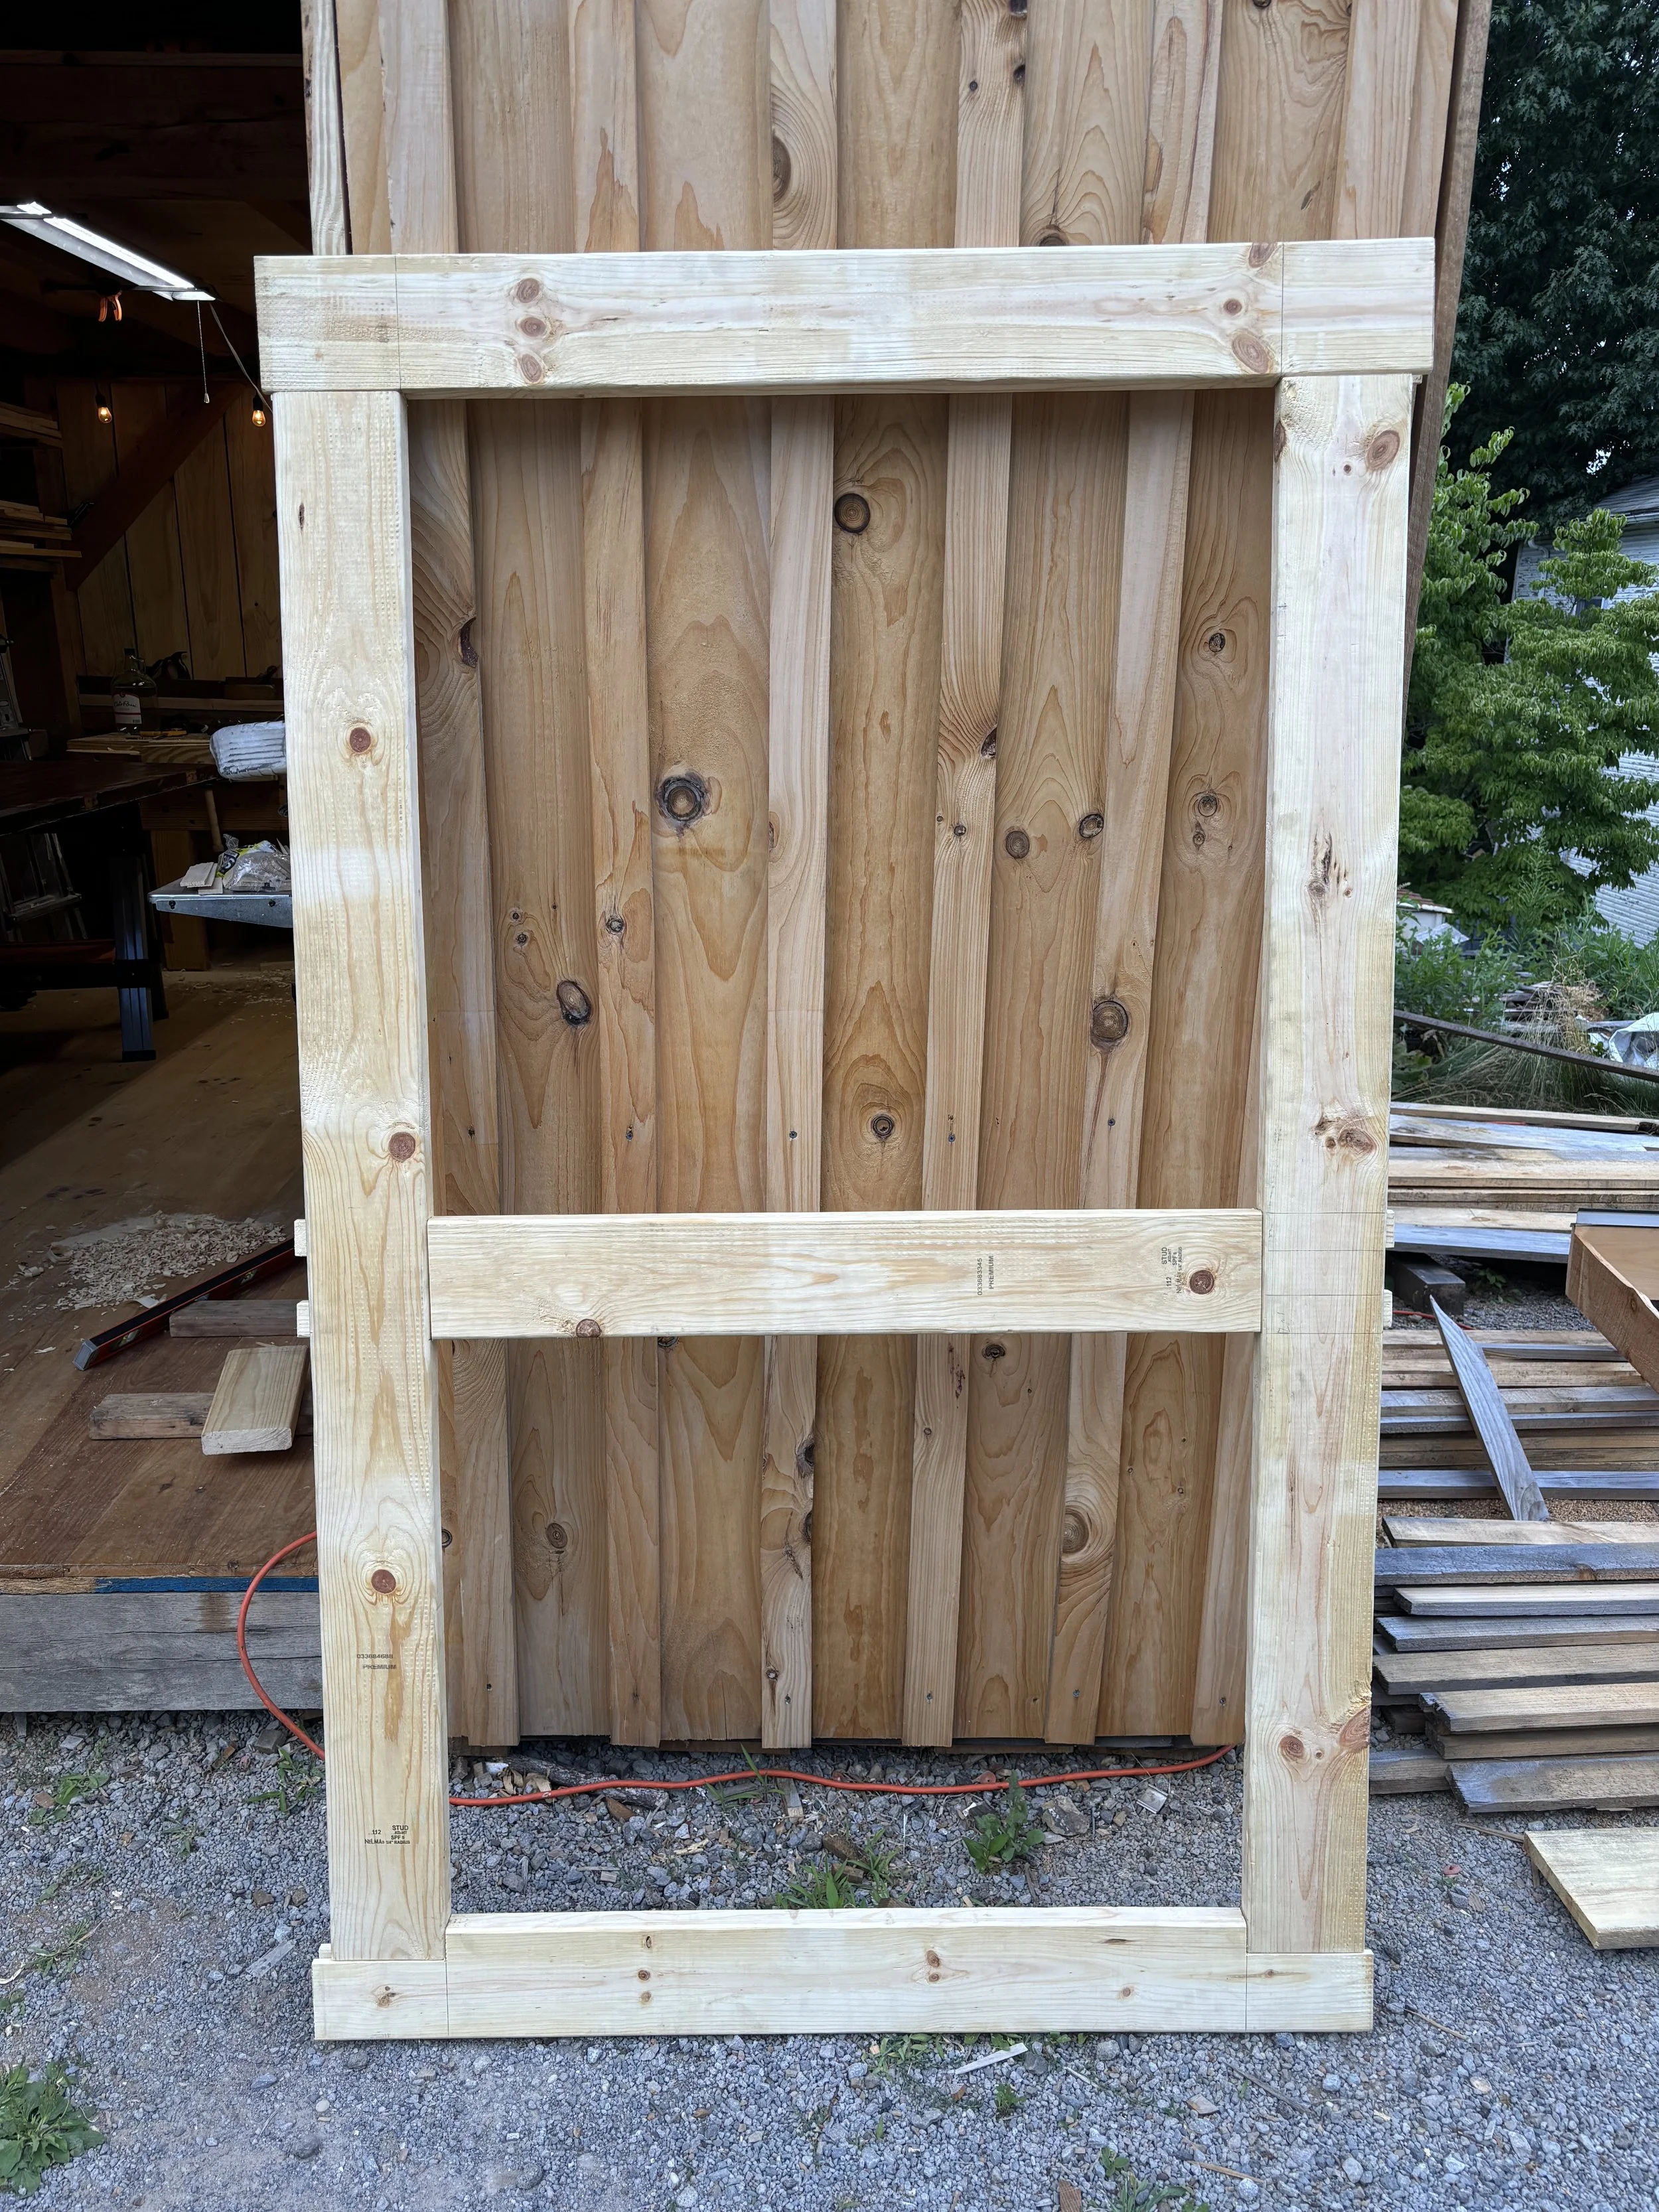
I drilled two 3/4 holes into the rails, pulled 1 1/2 back from the inside edges of the joint, and draw-bored the tenons on the stiles diagonally both towards the rail and towards the center of the door. I rived four pegs from a scrap piece of oak, tapered them with a chisel, left them proud during assembly, and cut them flush when the glue had dried.


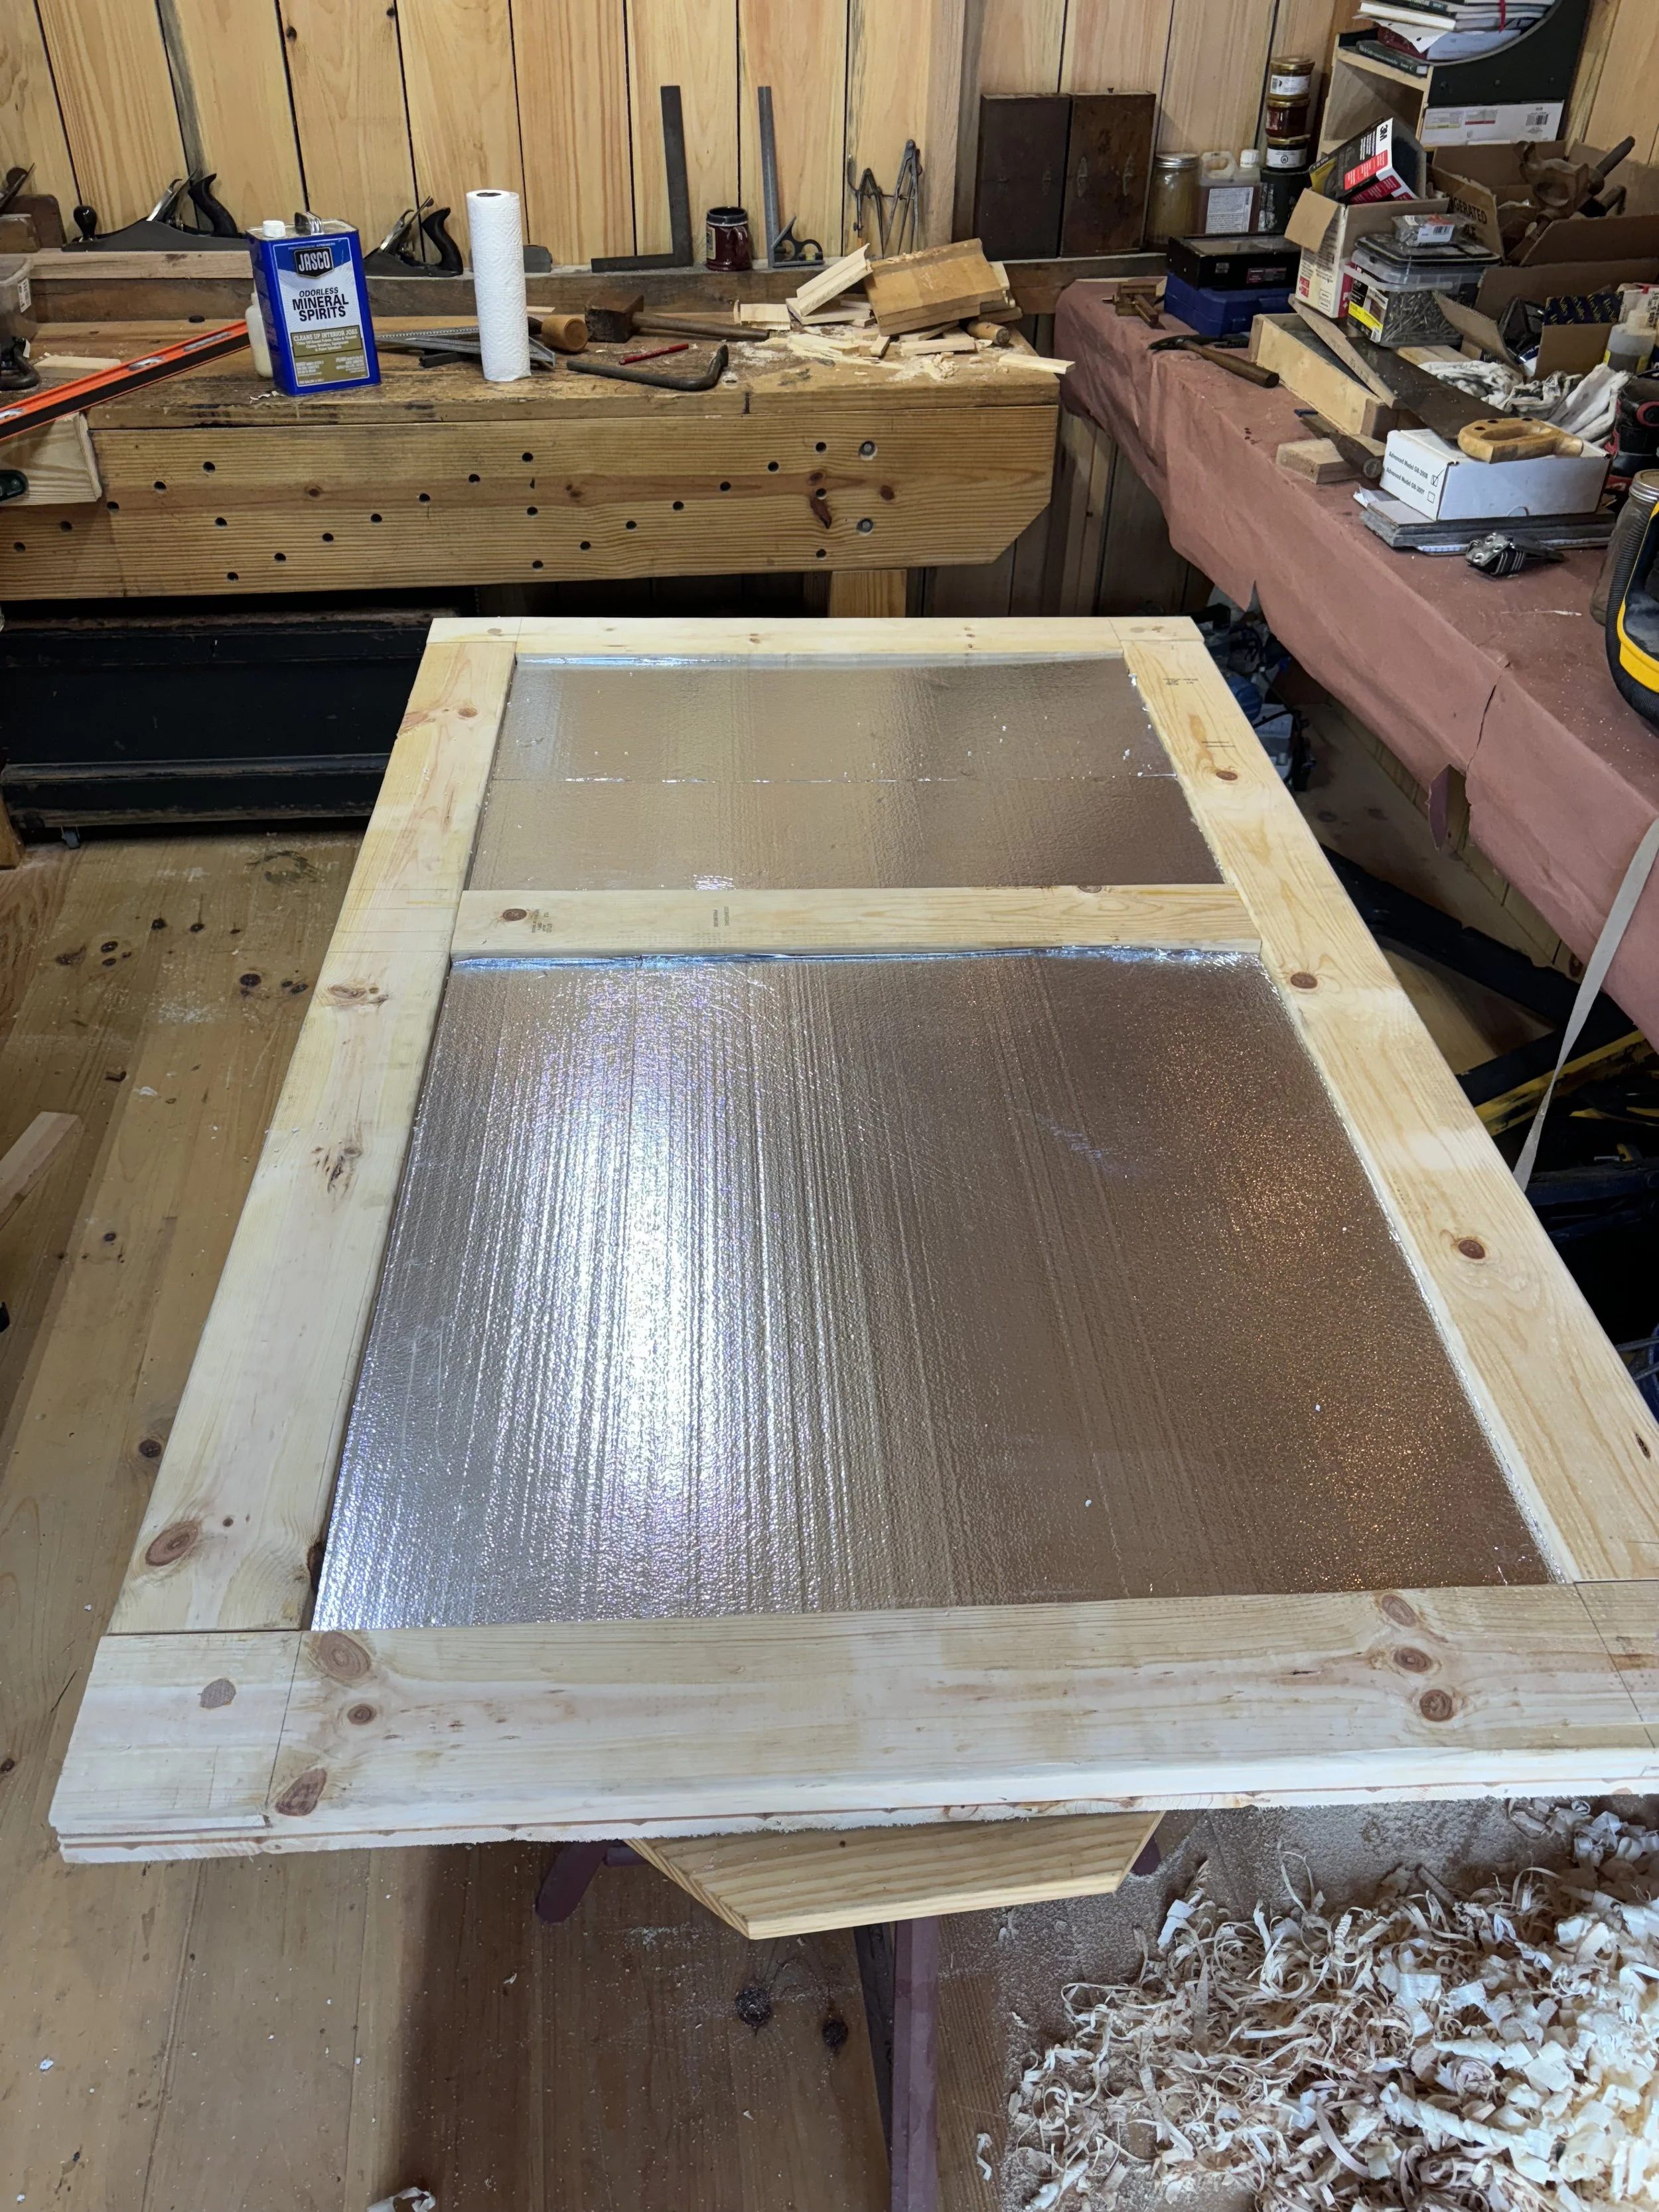
With the frame assembly glued up square, the bulk of the difficult work was over. It is a relatively simple matter to panel the door. I cut off the tongue of the first piece of paneling to allow for door casing, squared the piece to the frame, and secured it with 2x 18g 1 1/4 finish nails at the top/bottom header and brace. I left my paneling over long on both the top and bottom and cross cut them flush with a circular saw. Press fit two pieces of 1” foam board insulation into the frame, and repeat the paneling operation on the other side.

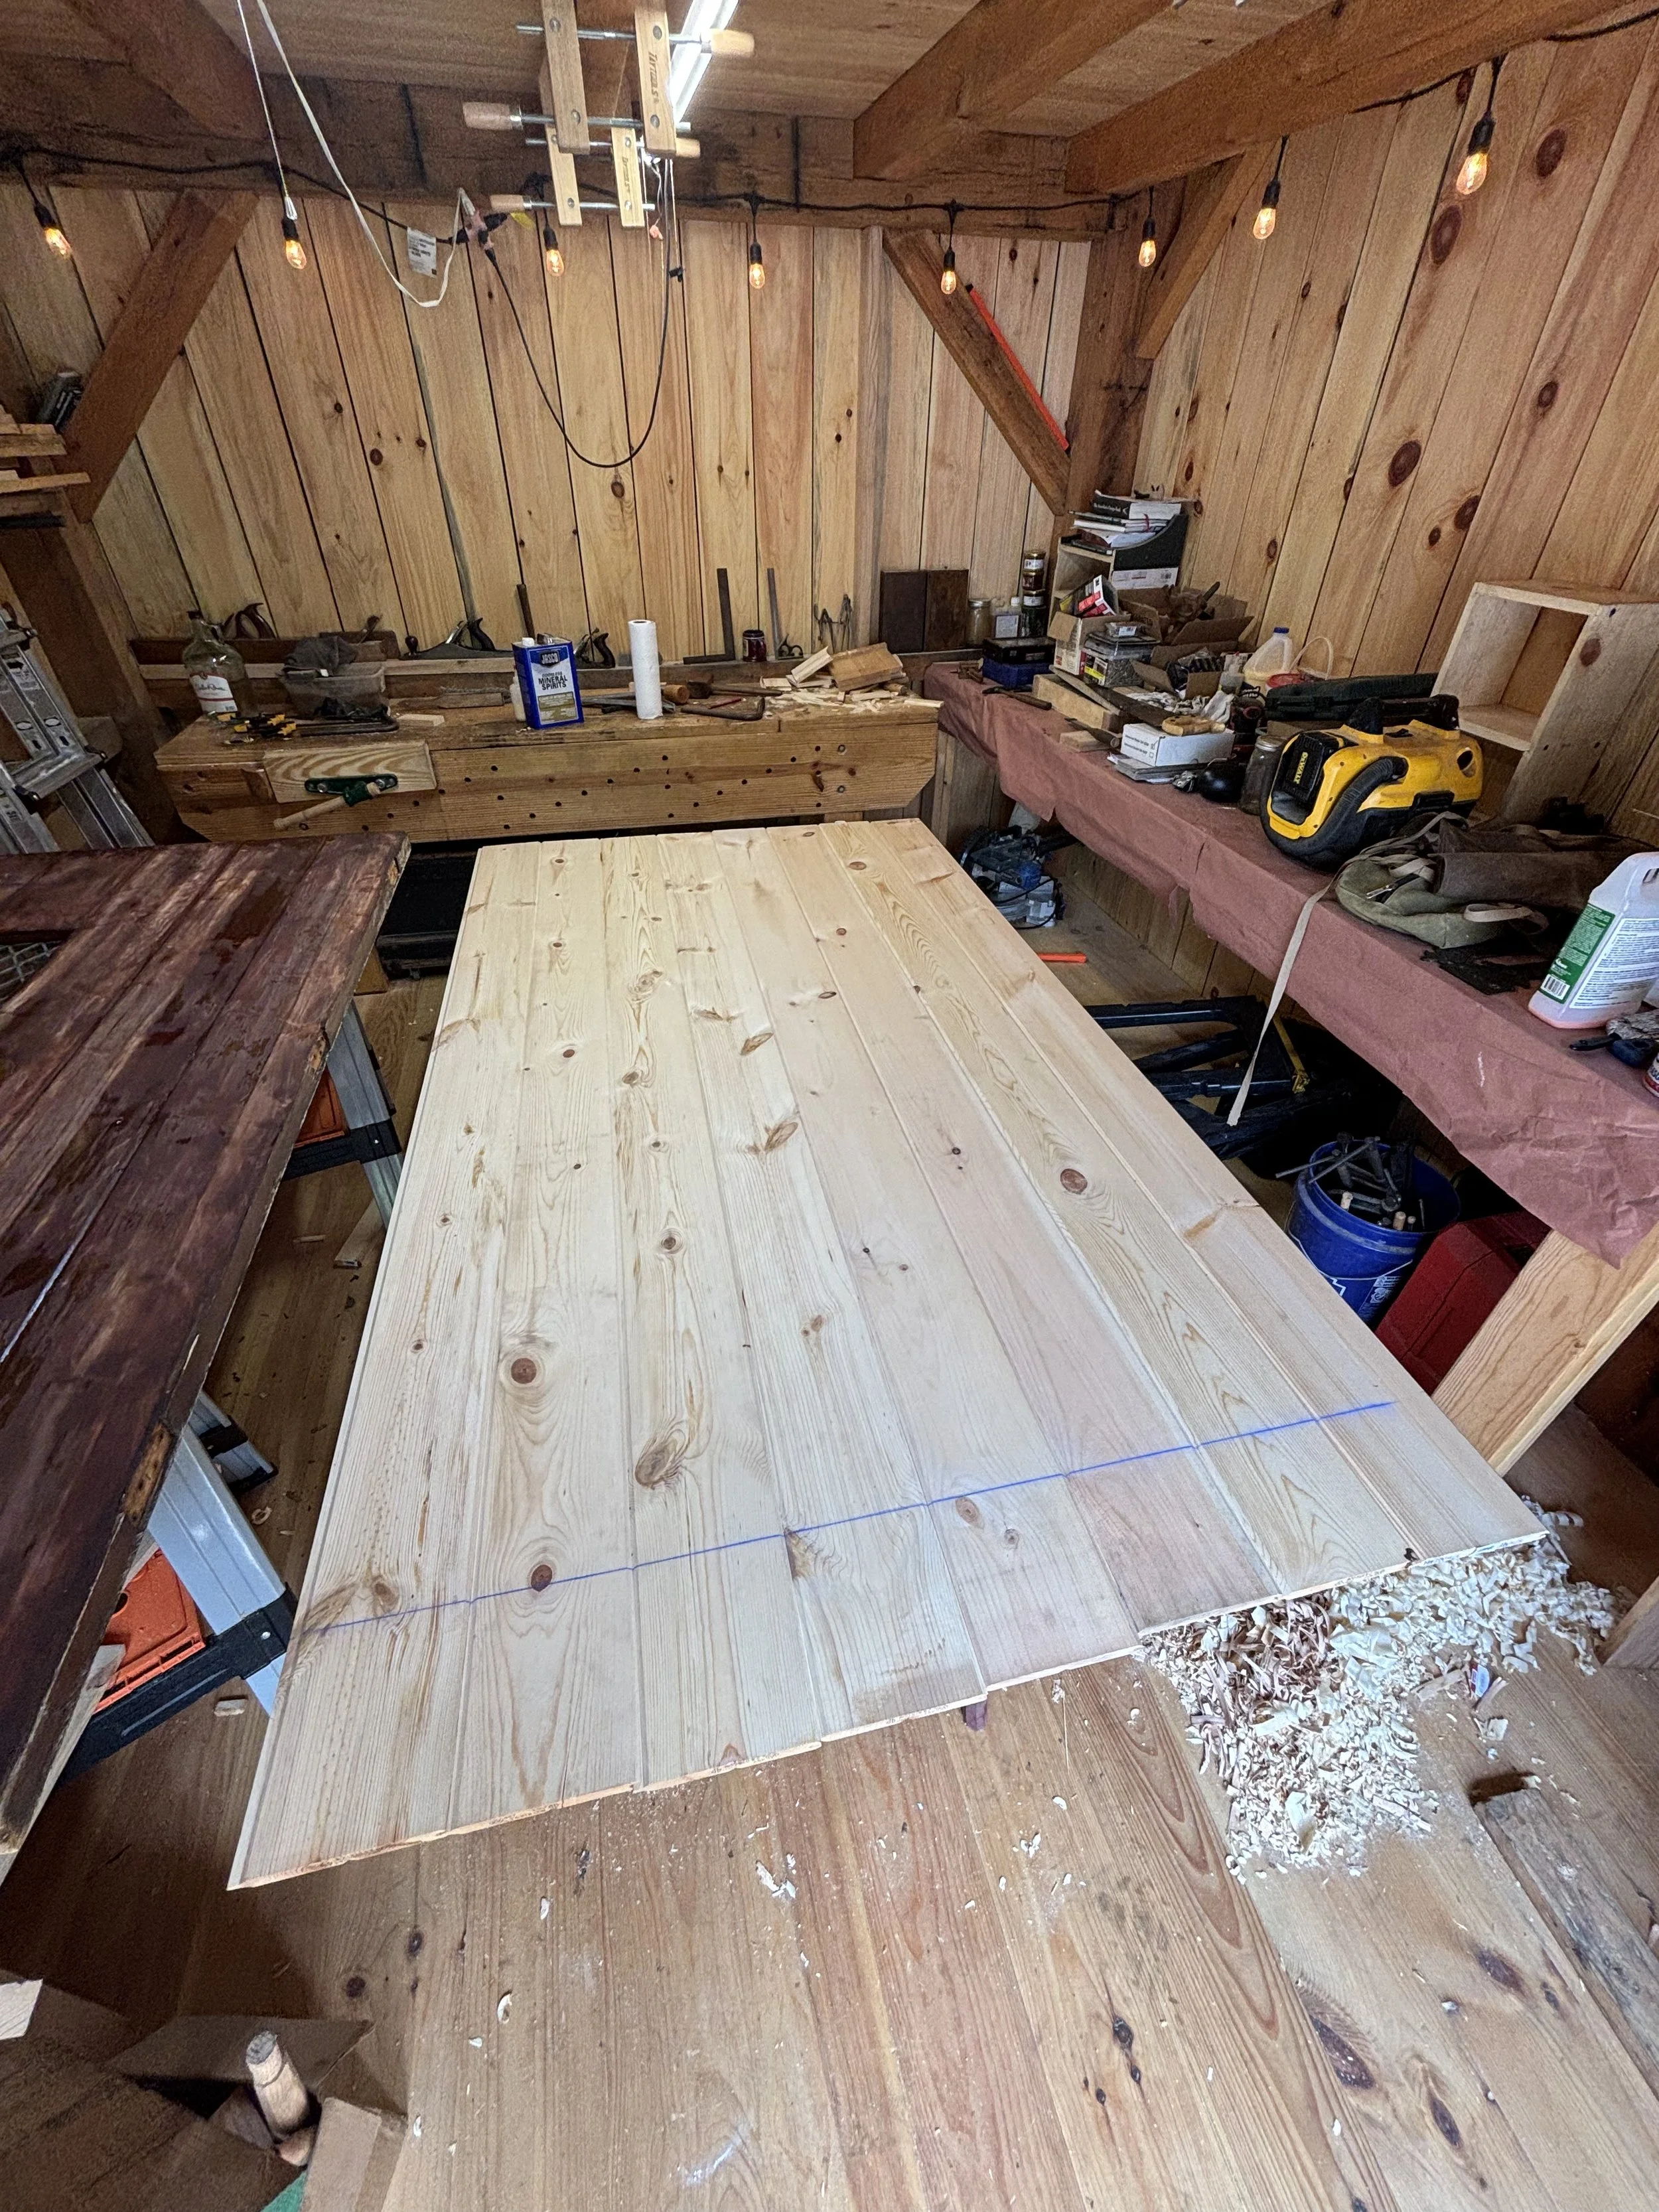
I used a piece of 1x4 pine trim from the home center for the final pieces of casing that wrap the door’s edges. Arbitrarily, I chose to start by casing the short, horizontal edges flush to the door frame, and then running my longer, vertical pieces of casing second to align with the horizontal casing. These I attached to the frame with 2” construction screws before putting a small handling chamfer on all of the edges.
Installing the door is not a one man operation, though it can be managed. I shimmed the bottom of the door so it swung slightly above the ground and installed two strap hinges on the inside. My strap hinges had a little bit of vertical play in them: you could wiggle the far edge of the strap up and down maybe 1/8” both ways, for a total travel of about 1/4”. That could be a big problem for a newly installed door. To counteract this, I ensured that the straps were flexed to the full extent of their downward travel when they were installed, so the door could not sag on its hinges any more.
Note After about a year of use, I decided to add a third strap hinge to the center brace. While the weight rating on the strap hinges is theoretically enough to handle the door, I found that they squeaked more than I liked. I used strap hinges from my local home center, but if I were to replace them (when such money could be found) I would opt for a hinge better engineered for the purpose, ideally one that came factory oiled and sealed.

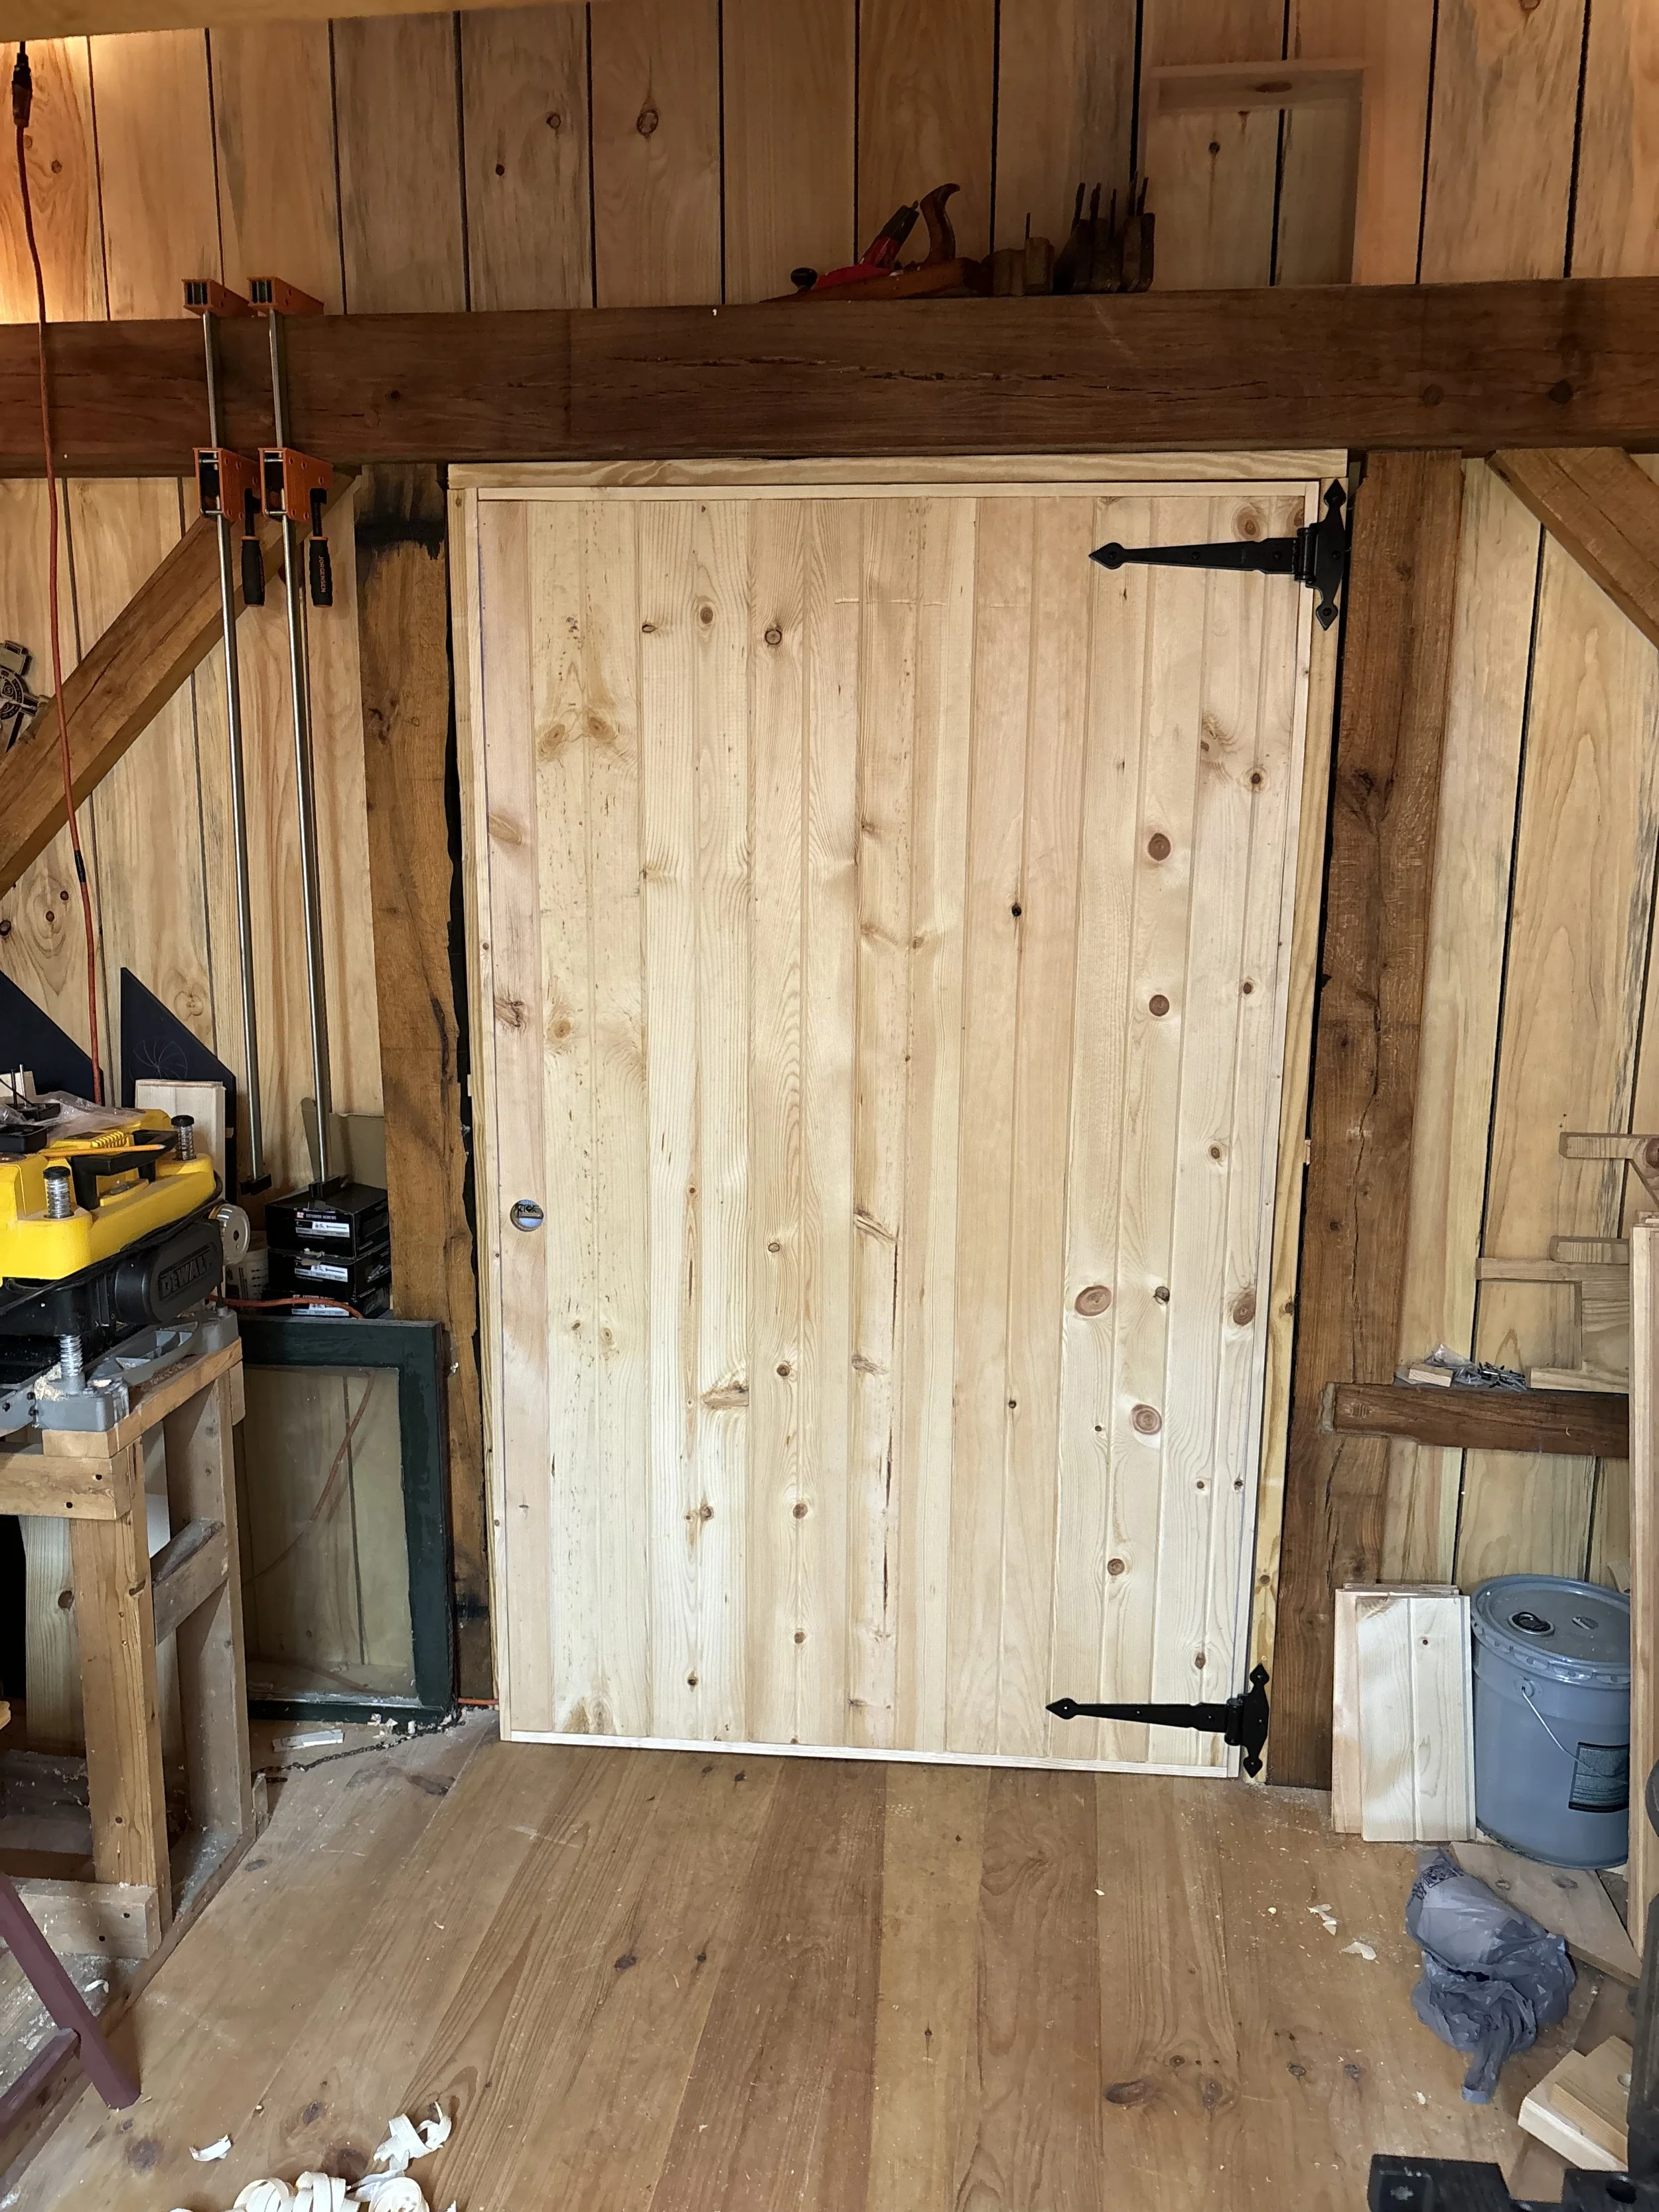
The finished and installed door, awaiting a season’s coat of Heritage Natural Finish to protect it from the elements and some minor fitting adjustments.